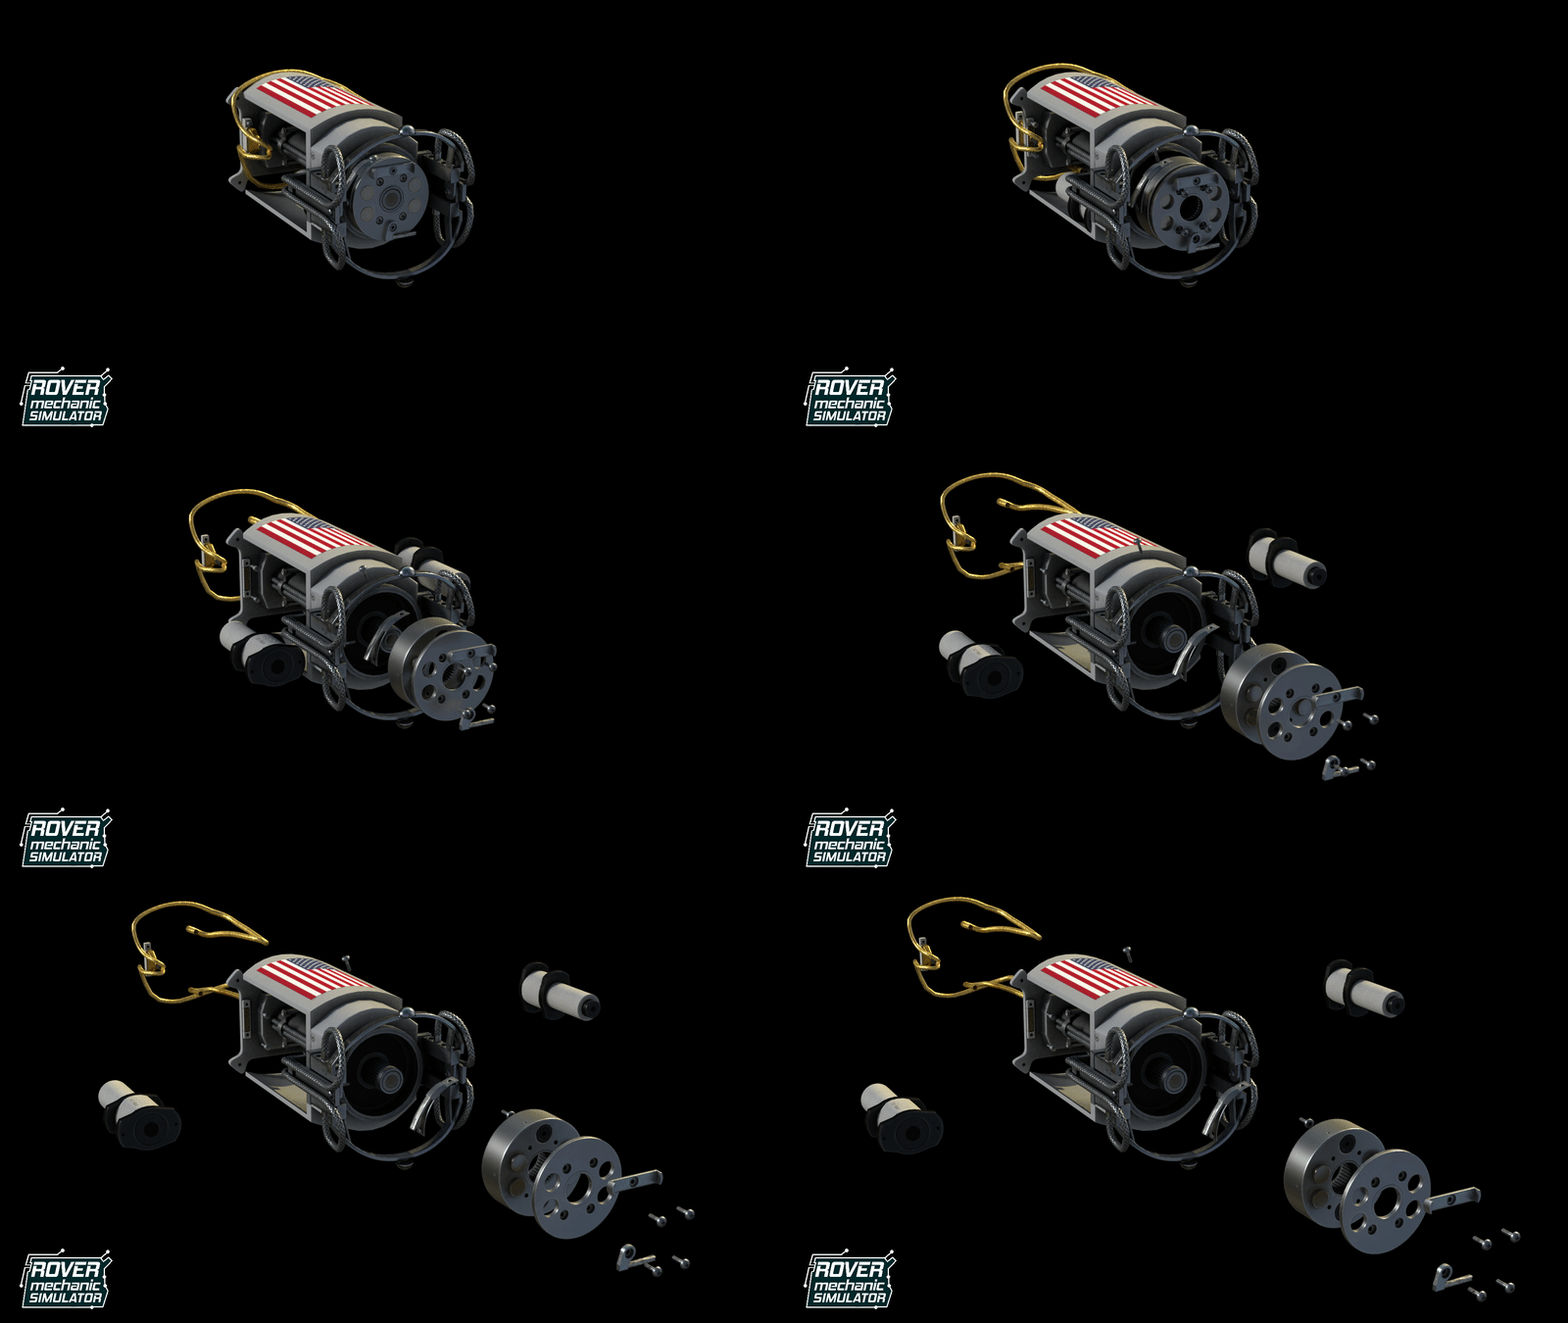
RMS_Devlog #17: Assembly, Disassembly and Analysis of Mars Exploration Rover Model

Dear Martians!
Making repairs of Mars rovers will involve working in three modes: the assembly mode, the disassembly mode and the analysis mode. You will need to employ these modes while using the circuits workbench and optical workbench or while working directly on Mars rovers. In each case, the modes you’ll use will be the same, the only difference will lie in the type of the joining elements you’ll need to remove to disassemble a given part, such as screws, solder alloys, etc. Today’s devlog will focus on the assembly, disassembly and analysis of the Mars Exploration Rover model.

Disassembly mode
This mode will be used to remove components from the rover. When you right-click some part of the vehicle, the display will focus on that part and you’ll be able to freely rotate the camera around it. In the bottom right corner of the screen, you’ll see information related to that element (name, image and wear level). If it’s possible to disassemble the part and you hold the right mouse button, it will unlock the screws and cables that will need to be removed in order to detach the component. If it’s not possible to disassemble the part, then the components that block the operation and need to be dismantled will light up in red. The removed element will be stored in the player’s inventory, where it can be destroyed (using the recycling machine), or reattached to a suitable place in the rover.

Assembly mode
In this mode, the parts that can be installed in the rover will be displayed (x-ray images). Camera rotation will work in the same way as in the disassembly mode. After selecting the part that you want to mount, you’ll need to hold the right mouse button. This action will call up a special UI that will let you choose the element you want to attach. Then, the part you selected will appear on the rover and the mode that helps you unfasten the screws and connect the cables will be activated. Once the process is complete, the part will be treated as mounted.

Analysis mode
In this mode, you’ll be able to check the wear level of each component. A faulty part should be repaired only if its wear level drops below 35%. While analyzing the parts, camera rotation will work in the same way as in the other modes. A right click on a component will display its state of wear.
The red colour will signify the wear level between 0 and 35%.
The yellow colour will indicate the wear level between 36 and 75%.
The green colour will refer to the wear level between 76 and 100%.
Based on an analysis of the state of wear, you’ll decide which parts you want to repair.

Stay tuned for upcoming devlogs! If you have any questions or just want to know more about the game, feel free to join our Discord channel!
Best Regards,
Rover Mechanic Simulator Team


